

We have been camping around the South West of WA in our Jayco Eagle Outback for about 6 months using the standard Dometic 3-way fridge. We found it a challenge keeping it cold while camping in different locations during our recent hot WA Christmas. So, we decided to remove the original Dometic 90 litre 3-way fridge and replace it with a Bushman 130 litre DCX 130 12V compressor fridge.
One of the issues we had with the 3 way was switching between the different cooling methods between packing down and setting up. We ran the fridge on 12V from the car while driving, but once we had arrived at off grid destinations, it was a race to get the fridge operating on gas.

We had to unhitch, level the camper, remove bikes and kayaks, set up bed flys, setup the awning, pop up the roof, pull out the beds, access the gas bottle, bleed the gas through the stove before finally turning the fridge on running on gas. It is not so much of an issue if you have access to 240V at your destination.
While towing the camper we found when we stopped to do grocery shopping, go for a swim at the beach or look at a point of interest, we were thinking about the internal temperature of the fridge. This is where a 12V compressor fridge trumps the 3-way fridge.
A 12V compressor fridge is very efficient and can run on a decent battery for many hours without recharging. Pair the battery with a DC-DC charger and solar panel and it could virtually run constantly without concern. With a 3 month trip on the road planned, we felt the install was worth the cost and effort.
Our Jayco Eagle had a 140AH AGM battery, solar regulator and solar panel installed when we bought it. The battery purely runs the LED lights, water pump, stereo and anything else we plug into the cig sockets, there was not really much demand. The cheap regulator and solar panel were sufficient enough to maintain the battery.
However, to run a 12V fridge we were going to need something better for charging the battery. We purchased an Enerdrive DC-DC charger to replace the basic solar regulator. We rewired the 12V cables from the Anderson plug to power the DC-DC charger while driving. The Anderson plug at the tow hitch originally powered the 3-way fridge when set on 12V, drawing from the car crank battery.

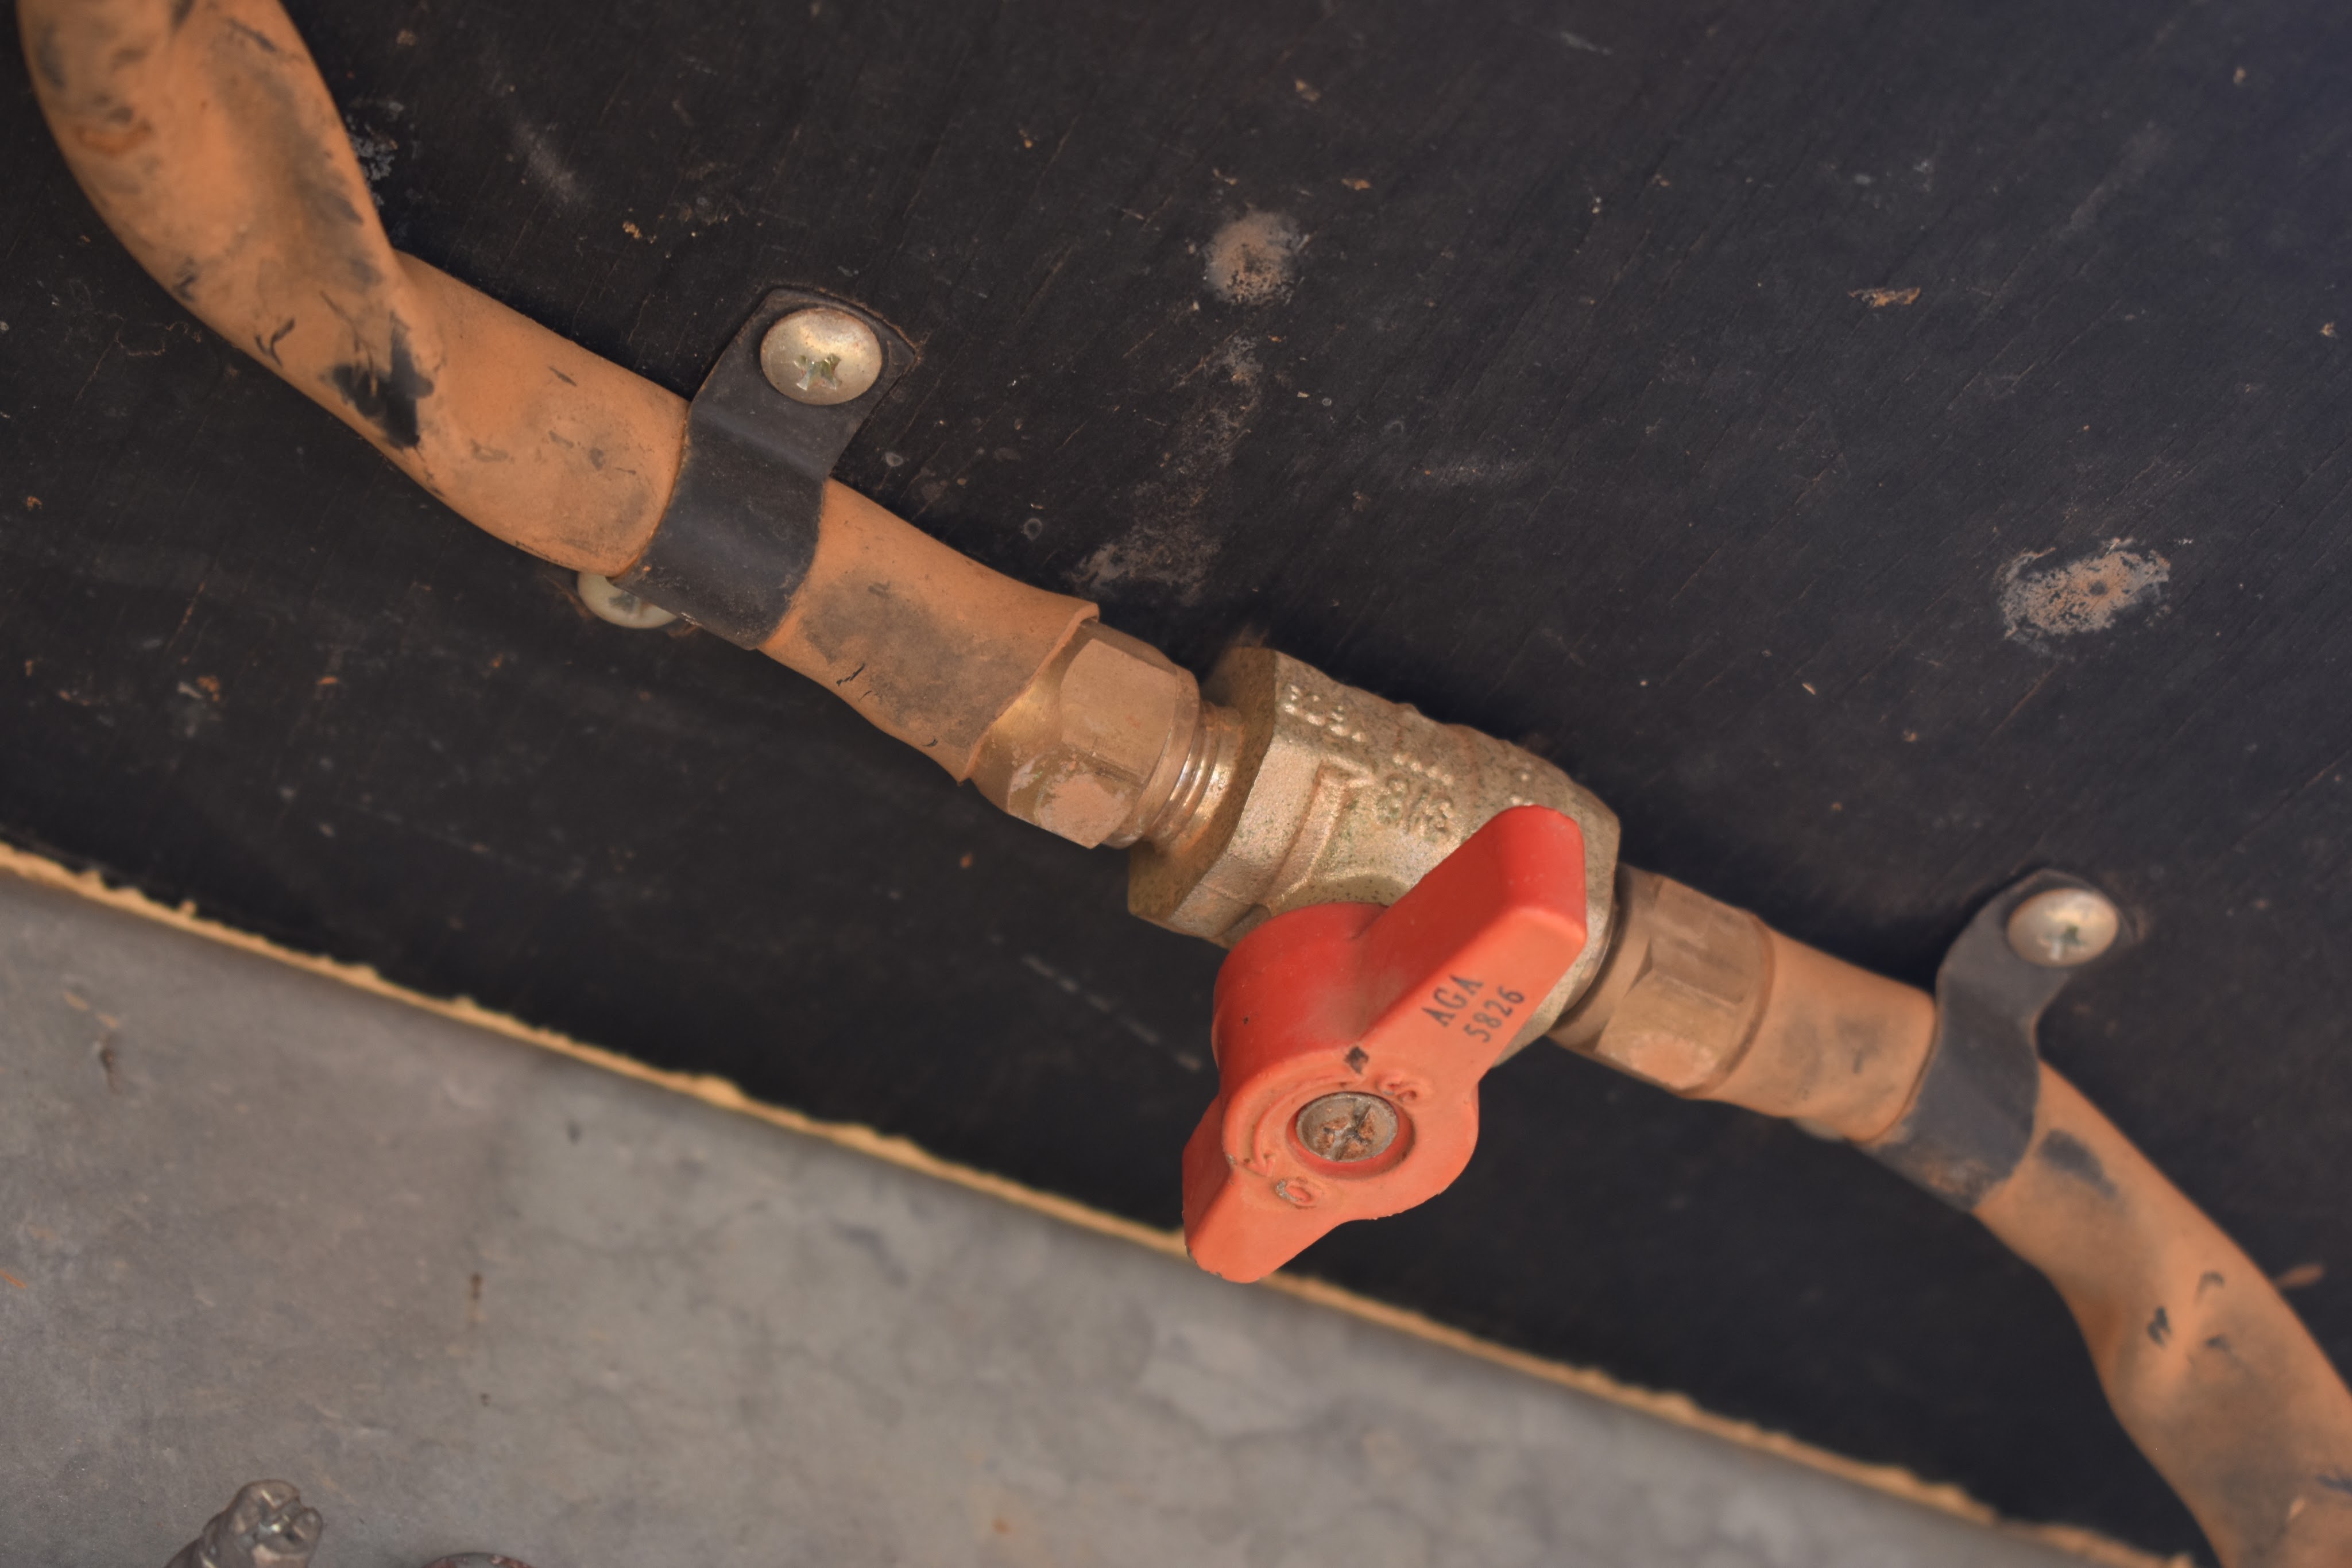
Removing the fridge was not too hard. We started by disconnecting the gas line at the valve underneath, we will blank this off. Release the 12V cables from the terminal block at the back of the fridge, there is also a screw holding the mount to the floor nearby. The 240V cable runs through some expander foam on the left hand side of the fridge, we had to enlarge the hole in the foam to get the plug through. We filled this void with more expander foam later on.


The two screws on either side holding the front of the fridge to the cabinetry were beneath rubber grommets. We found we had to remove the top hinge and door to access the two screws on the left hand side. To access the top hinge screws, we had to remove the control panel, also held in by two screws.

The next step was to push the fridge out. While pushing the fridge we had to carefully manipulate the gas pipe through the hole in the floor. Before long, it was out. The fridge would not fit through our doorway, so we disconnected the top half of the camper door as if packing up and lifted the fridge over the doorway.

The Bushman is delivered with the hinge on the right-hand side, our previous fridge had the hinges on the left-hand side, we preferred to keep it the same. The fridge comes with basic instructions to change from right hand to left hand. This leaves visible screw holes; however, Bushman have supplied a sticker to cover the original holes and a replacement sticker after accessing the screws within the handle.


Preparing the space for the new fridge was not as straightforward as we had anticipated; on paper it should fit easily. The laminated timber on the right-hand side protruding into the cavity made the width too narrow. You could possibly trim down the timber in place, but we opted to remove it and a friend assisted in trimming it down on a table saw.

Removing this timber was not so easy, there are two screws through each piece of cross timber between each drawer. There are also several staples holding everything together, we used a flat screw driver and pointy nose pliers to pull out the staples. Within the fridge cavity there are a few plastic angled brackets holding this timber in place, also needing removal. The ply on the left side covers a cavity for electrical cables, no need to remove this.
Once the timber was trimmed to the desired thickness, we screwed it back in place to the cross timbers. We ended up shortening the original screws with an angle grinder to prevent them from protruding into the fridge cavity.
The supplied mounting kit did not work for our particular camper, so we had to make our own. We purchased some aluminium extrusions from Capral Aluminium, 70mm x 25mm x 1.6mm angle for the left hand side, 80mm x 3mm flat for the right hand side. There are small existing holes on the fridge for screwing into, we were assured by the salesman it is safe to screw into these holes in the side of the fridge.

Getting the hole positions took a lot of measuring and re-measuring to be sure it was right. Once we were happy with the hole positions, we drilled and deburred all the edges of the aluminum and had the extrusions powder coated in satin black. This cost us around $80 for the two fridge mounts and a small piece to cover the original solar controller screw holes.
We also made up a piece of angled extrusion to screw the rear of the fridge to the floor, we did not bother getting this powder coated as it is generally unseen.
Once we received the powder coated extrusions, it was time to finally mount the fridge in place. We used some of the original insulation for the top of the fridge, and we attached some sticky back foam from Bunnings to the sides of the fridge to create a dust seal within the cavity.
We screwed the angle extrusion to the left hand side of the fridge and the flat piece to the inside of the fridge cavity on the right hand side. Pushing the fridge back in for the final time, all the holes lined up as planned. For a finishing touch, we painted the heads of the visible screws black to blend in with the powder coating.
After re-joining the wiring, it was time to turn the fridge on and sit back with cold one.


If you prefer the door to open hinged on the right hand side, the fridge could probably sit further within the cabinetry. Our fridge protrudes about 15mm from the bench to allow the door to fully open. This procedure might not suit other models of Jayco. Let us know how you have installed your Bushman.
If you want to keep up with what is happening on Let Me Be Free you can follow on Instagram here and Facebook here.
** Some of the links in this post are affiliated links. If you click to buy an item, I make a little commission but you don’t pay any extra. **

Hello! Interested in your change from 3 way fridge to 12v. Do you plan in staying in1 spot off grid for a while? Our neighbours at Cape Range, Exmouth, were booked in for 4 weeks but had to rush out and buy a generator because after many cloudy days their battery just didnt have enough charge. That made us glad to keep the gas fridge!
LikeLike
Hi there, the next step for us would be a lithium battery if we were to stay in one place for a longer period. There is nothing worse than listening to a generator!!
LikeLike
Interesting post. We’ve often discussed the merits of compressor fridges as friends of ours have one. It sounds like the setup time of your rig would make it well worth while. In our case, it’s more like “oh bugger, did you do the fridge?” Let us know how you go with it as it sounds great.
LikeLike
We will keep you updated on how it goes on our trip up north.
LikeLiked by 1 person
Have you had a chance to test it? Is the compressor noisey? The silent operation of the gas is the only advantage I can think of. But I love being less reliant on gas.
LikeLike
The fridge is great. It is very quiet and efficient. One issue we have had is the internal temp getting warmer gradually over weeks. We couldn’t work out why blaming it on the tropical heat and humidty. The key with this fridge is to prevent ice from forming on the freezer. By doing this the fridge will work perfect. We will be keeping the meat at the top and eggs and butter towards the bottom and wipe the ice away from the freezer often.
LikeLike
gday, did you run 12v straight from the battery ? because on my penguin, there is only the 12v from the trailer plug that ran into the 3 way fridge im pulling out.
cheers,
stef
LikeLike
Yes, directly to the battery with a fuse and a switch. I put a switch in so that you can leave the door open when you are not using it and the light doesn’t stay on.
LikeLike
Very useful, thank you.. we are looking at a Jayco Penguin, but want to do away with gas fridge and cooker inside the camper, and the Bushman’s you chose is what we believe will serve best, too. Much appreciated.. of course we’ll be dealing with a Penguin rather than a Swan, but same two fridges involved so hopefully it will work well.. 🙂 So you did your swap-over in early 2021 .. Are you still very happy with the and finding it very quiet and reliable? Thank you 🙂
LikeLike
We are happy with it and has been reliable. It cycles often but it is not loud. We find keeping the meat at the top of the fridge best.
LikeLike
Assume you had a licensed plumber work on your gas connection – as it’s illegal and potentially unsafe if you DIY.
LikeLike